Best Placement for Phoenix R200 Max Air Movers to Speed Up Drying
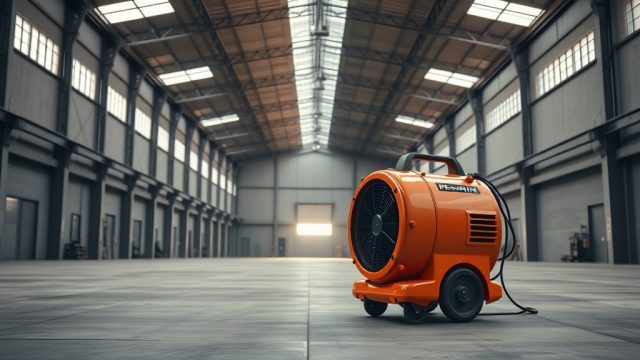
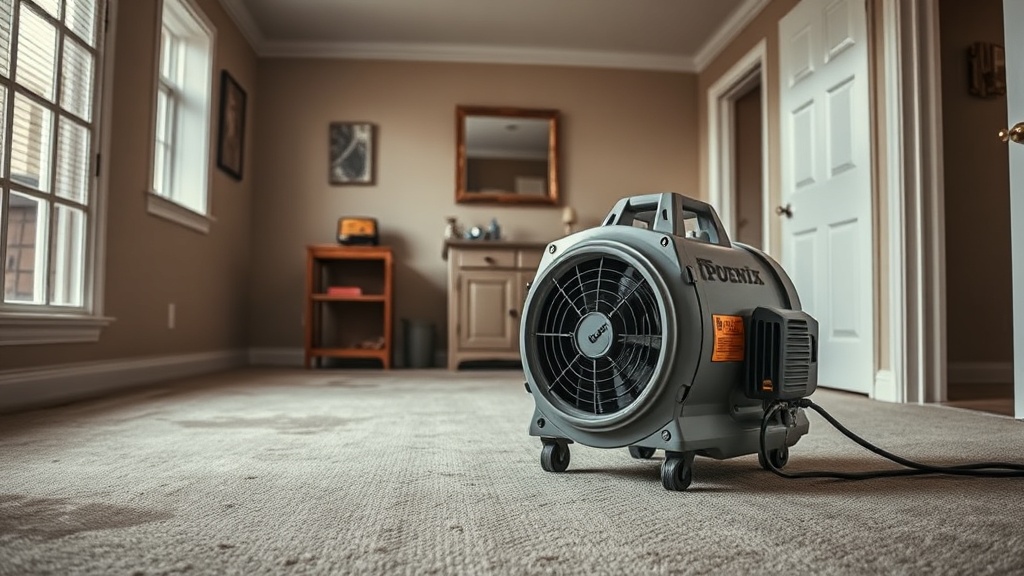
Maximizing airflow across wet surfaces is critical for structural drying, and the Phoenix R200 Max Air Mover excels when positioned strategically. Proper placement can shave hours off drying times by directing high-velocity air where it’s needed most. This guide covers specific positioning tactics for carpets, hardwood, walls, and confined spaces to get the most out of your R200 Max.
How Does the Phoenix R200 Max’s Airflow Pattern Affect Placement?
The Phoenix R200 Max produces a focused, high-velocity airstream—rated at 1,250 CFM on high—with a throw distance of roughly 25 feet before significant velocity drop-off. Unlike wide-dispersion air movers, the R200 Max creates a narrow jet that works best when aimed directly at the wet surface rather than across a room. This means you should position the unit 3–5 feet from the affected area, angled at 20–30 degrees toward the material.
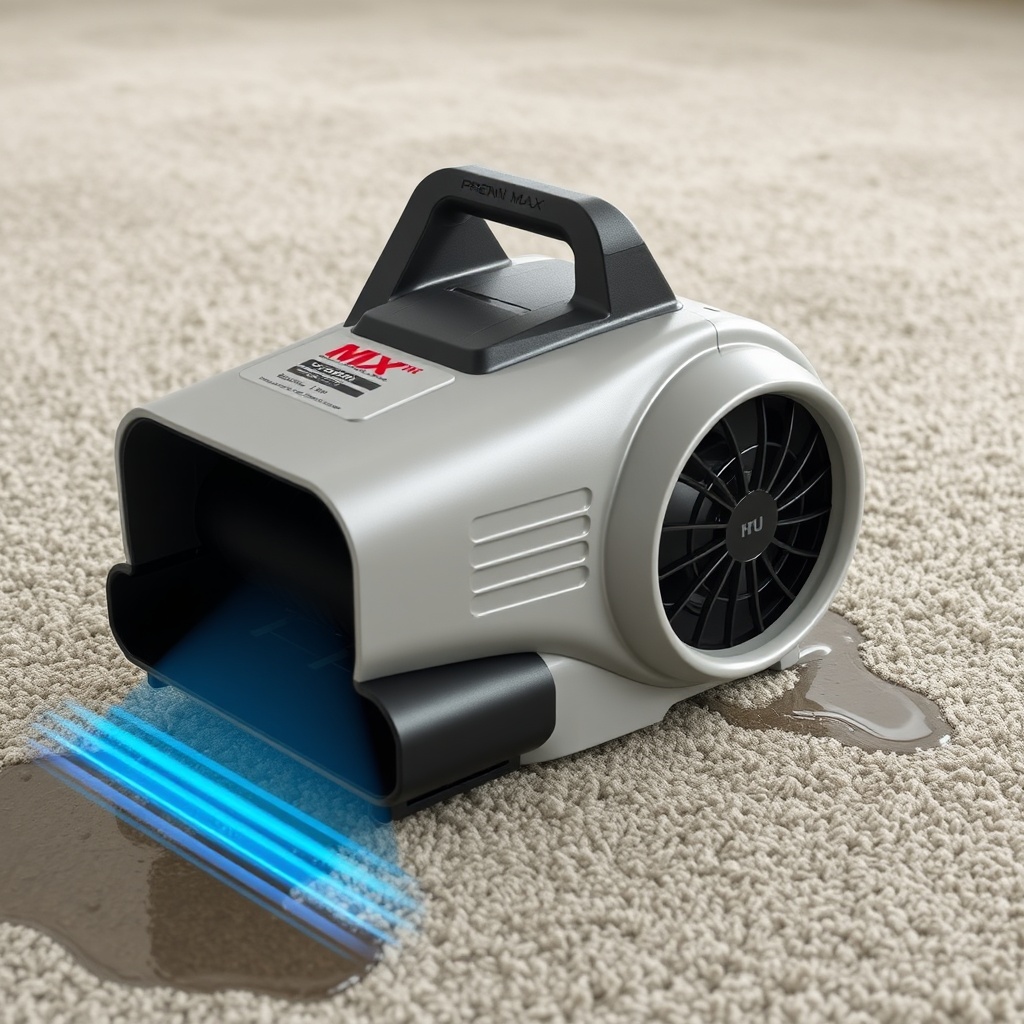
For carpet and pad drying, place the R200 Max so the airflow travels along the grain of the carpet fibers. This lifts moisture from the backing and pad more effectively. Avoid aiming perpendicular to walls or at furniture gaps, as the jet can create turbulence that reduces evaporation rates. A practical test is to use a handheld anemometer at the target surface; you want at least 300–400 FPM of air movement for optimal drying.
Consider using Phoenix R200 Max Air Mover Test: Airflow Patterns and Drying Efficiency for real-world airflow maps that help refine placement.
What’s the Best Placement for Drying Hardwood Floors with the Phoenix R200 Max?
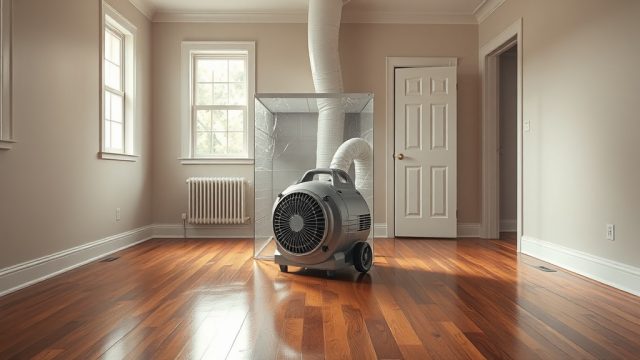
Hardwood floors require careful airflow to avoid cupping or buckling. The Phoenix R200 Max should be positioned at the perimeter of the affected room, aiming across the floor at a low angle (15–20 degrees). This creates a sweeping effect that pulls moisture from the surface without direct jet pressure that can force water deeper into joints.
Place units every 12–15 feet along the longest wall, each blowing in the same direction to create consistent airflow. For engineered hardwood, use lower speed settings (if available) to reduce the risk of delamination. The R200 Max’s variable speed control (with a 3-position switch) is ideal here—set to medium for hardwood, which provides around 800 CFM.
Monitor moisture content with a pinless meter; target a 2–3% difference from unaffected areas before stopping drying. Pair these placements with Pairing the Phoenix R200 Max with Moisture Meters for Real-Time Drying Verification to track progress.
Where Should You Place Phoenix R200 Max Units in Confined Spaces Like Crawl Spaces?
Confined spaces like crawl spaces, attics, and basements present unique challenges. The R200 Max’s compact size (18 x 18 x 22 inches) and 29-pound weight make it easy to carry into tight areas. However, placement is critical because stagnant air quickly becomes humid.
Position the R200 Max at the lowest point in the space, directing airflow toward the exit or a dehumidifier intake. This creates a negative pressure effect, drawing dry air in from outside. If multiple units are used, set up a circular airflow pattern by placing them at opposite corners, all blowing in the same direction—clockwise or counterclockwise—to avoid dead zones. In a typical 500-square-foot crawl space, two R200 Max units spaced 20 feet apart are sufficient for most drying jobs.
Avoid placing the intake directly against a wall; leave at least 6 inches of clearance to prevent air starvation. Use the built-in carry handle to reposition every 2–3 hours as drying progresses.
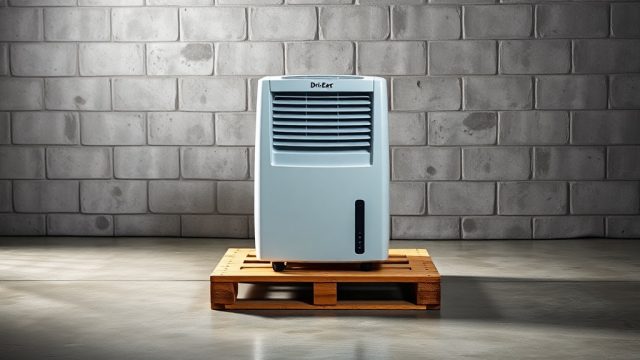
How Does the Phoenix R200 Max Compare to the Dri-Eaz 1200 for Placement Requirements?
The Dri-Eaz 1200 is a direct competitor, but the R200 Max has a narrower throw pattern that demands different placement. While the Dri-Eaz 1200 spreads airflow over a wider arc (about 60 degrees), the R200 Max is more focused (around 30 degrees). This means you can place the R200 Max further from the wet surface—up to 8 feet for carpet drying—without losing effectiveness.
For wall cavity drying, the R200 Max placed 4–5 feet from the wall at a 45-degree angle forces air into the cavity better than the Dri-Eaz 1200’s wider blast. However, for large open rooms, you may need 25% more R200 Max units than Dri-Eaz 1200s to cover the same area. Check Phoenix R200 Max vs Dri-Eaz 1200: Air Mover Showdown for Water Damage Jobs for a detailed comparison of coverage areas and placement flexibility.
| Situation | Phoenix R200 Max Placement | Dri-Eaz 1200 Placement |
|---|---|---|
| Carpet drying | 3–5 ft from edge, 30° angle | 2–4 ft, wider angle |
| Hardwood floors | Perimeter, low angle 15–20° | Same, but closer spacing |
| Wall cavities | 4–5 ft, 45° angle | 3–4 ft, 30° angle |
| Confined spaces | Lowest point, circular pattern | Similar, but more units needed |
What’s the Optimal Placement for Drying Walls and Ceilings with the R200 Max?
Walls and ceilings require indirect airflow to prevent damage. For drywall walls, place the R200 Max about 6–8 inches from the baseboard, angled upward at 45 degrees. This lifts moisture from the painted surface and into the room air, which should be processed by a dehumidifier. For ceilings, if the space allows, place the unit on a sturdy table or ladder, aiming at the corner of the ceiling—this creates a vortex that circulates air across the entire surface.
For wall cavities after flood damage, use the R200 Max’s high setting to push air through weep holes or small openings. Position the unit 2 feet from the wall, directly facing the opening, and seal adjacent holes with tape to force air through the cavity. This technique can reduce drying time from 72 hours to under 48 hours for standard wood-frame walls.
Always check for condensation on windows or cold surfaces; if you see moisture forming, move the unit further away or use a lower speed setting to avoid saturating surfaces.
Can You Stack or Daisy-Chain Phoenix R200 Max Units for Better Coverage?
Stacking two R200 Max units vertically is not recommended due to stability concerns—each unit weighs nearly 30 pounds, and stacking could create a tipping hazard. However, you can place them side-by-side on the floor or on sturdy tables to increase coverage. Space them 3–4 feet apart to allow air recirculation between units.
Daisy-chaining power cords is possible with the R200 Max’s built-in cord wrap and grounded outlets (some models include a power pass-through). You can connect up to three units on a single 15-amp circuit without tripping breakers, as each draws about 1.8 amps on low speed. For larger jobs, use a dedicated 20-amp circuit with a heavy-duty extension cord rated for 15 amps or more.
Position daisy-chained units in a row along the longest wet area, each aimed at a different section. This creates a linear airflow “curtain” that moves moisture toward a central dehumidifier.
What Owners Say About Phoenix R200 Max Placement
Water damage restoration pros report that the R200 Max’s focused jet is excellent for spot-drying, but they note a learning curve. One owner commented, “I used to spread units out wide, but the R200 Max works better when I aim it like a high-pressure hose at the wettest spots.” Another said, “In tight laundry rooms, I wedge it in the corner and angle it at 45 degrees—dries the floor in half the time compared to my old blowers.”
A third owner shared a caution: “Don’t place it too close to furniture or you’ll get dust blowing everywhere. I keep 4 feet from couches and it’s perfect.” These real-world insights highlight that placement is less about random spacing and more about deliberate targeting.
Frequently Asked Questions About Phoenix R200 Max Placement
How close should the Phoenix R200 Max be to wet carpet?
Place the unit 3–5 feet from the edge of the wet carpet, angled at 20–30 degrees. This allows the high-velocity air to skim the surface without blowing moisture deeper into the pad.
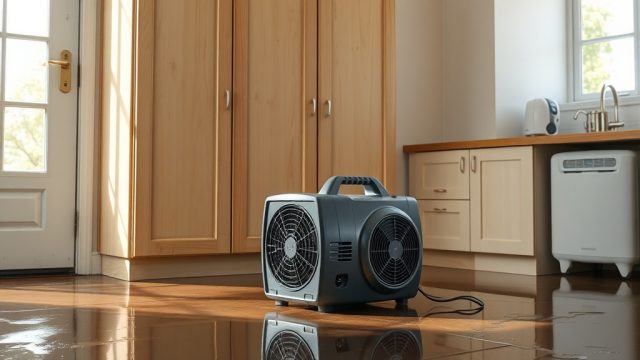
Can I use the Phoenix R200 Max in a bathroom with tile floors?
Yes. Position the unit at the bathroom door, blowing diagonally across the tile. Keep a 2-foot gap from walls to prevent water from being forced under baseboards.
What’s the best placement for drying a flooded basement?
Place multiple R200 Max units at the lowest points, aiming toward a sump pump or floor drain. Use a circular airflow pattern to ensure all corners are covered.
How many Phoenix R200 Max units do I need for a 1,000-square-foot room?
For carpet drying, 4–5 units are sufficient. For hardwood or concrete, you may need 6–8 due to lower porosity. Space them 12–15 feet apart along perimeter walls.
Should I point the Phoenix R200 Max at a dehumidifier?
Yes, but not directly into the intake. Aim the air mover so airflow crosses the dehumidifier’s intake path to improve evaporation and humidity removal efficiency.
Can I place the Phoenix R200 Max outdoors?
No. The unit is rated for indoor use only. Exposure to rain or extreme temperatures can damage the motor and void the warranty.