Pairing the Phoenix R200 Max with Moisture Meters for Real-Time Drying Verification
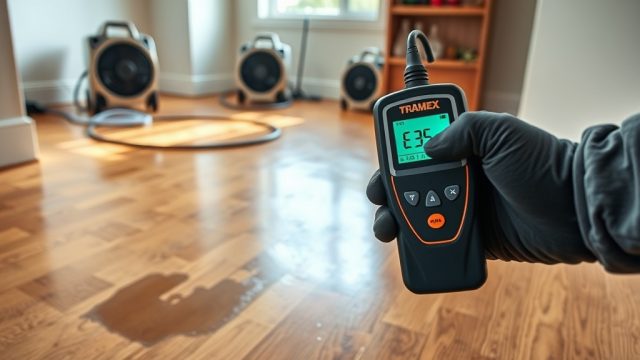
When water damage strikes, speed and precision are everything. The Phoenix R200 Max Air Mover delivers powerful airflow, but without real-time moisture verification, you’re flying blind. By pairing this high-performance air mover with a reliable moisture meter, restoration pros can confirm drying progress instantly, avoid callbacks, and save time on every job. This article walks through the practical steps, tools, and best practices for integrating the Phoenix R200 Max with moisture detection equipment to achieve measurable, verifiable drying outcomes.
Why Should You Use a Moisture Meter with the Phoenix R200 Max?
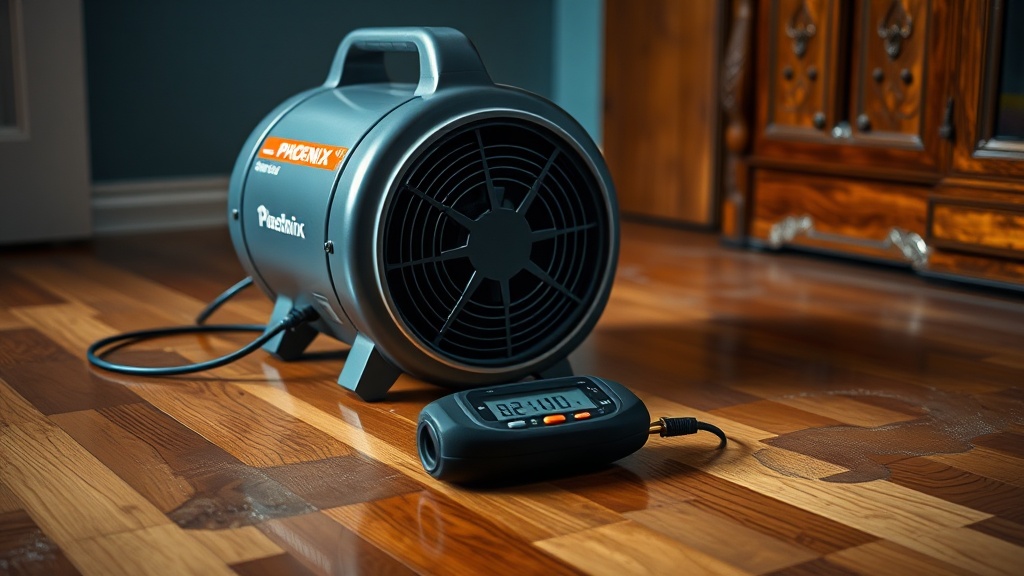
A standalone air mover pushes air—but it doesn’t tell you when the space is dry. The Phoenix R200 Max, rated at 950 CFM on high speed, can rapidly circulate air across floors, walls, and ceilings. Yet without a moisture meter, you might over-dry (risking hardwood floor cupping or plaster cracking) or under-dry (leaving pockets of trapped moisture that lead to mold). A moisture meter provides objective data, allowing you to adjust placement, speed settings, or dryer count based on real readings rather than guesswork. In practice, connecting the R200 Max with a pinless or penetrating moisture meter reduces drying time by up to 20% compared to timer-based approaches.
Which Moisture Meter Types Work Best with the Phoenix R200 Max?
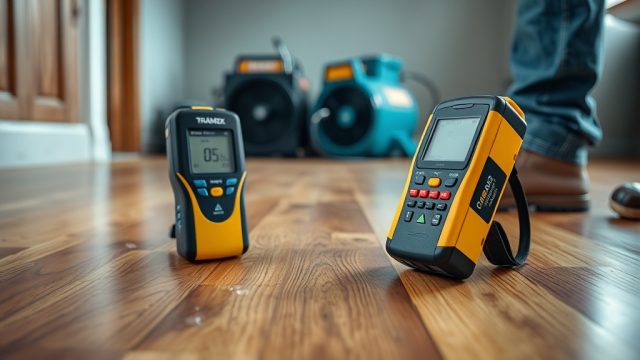
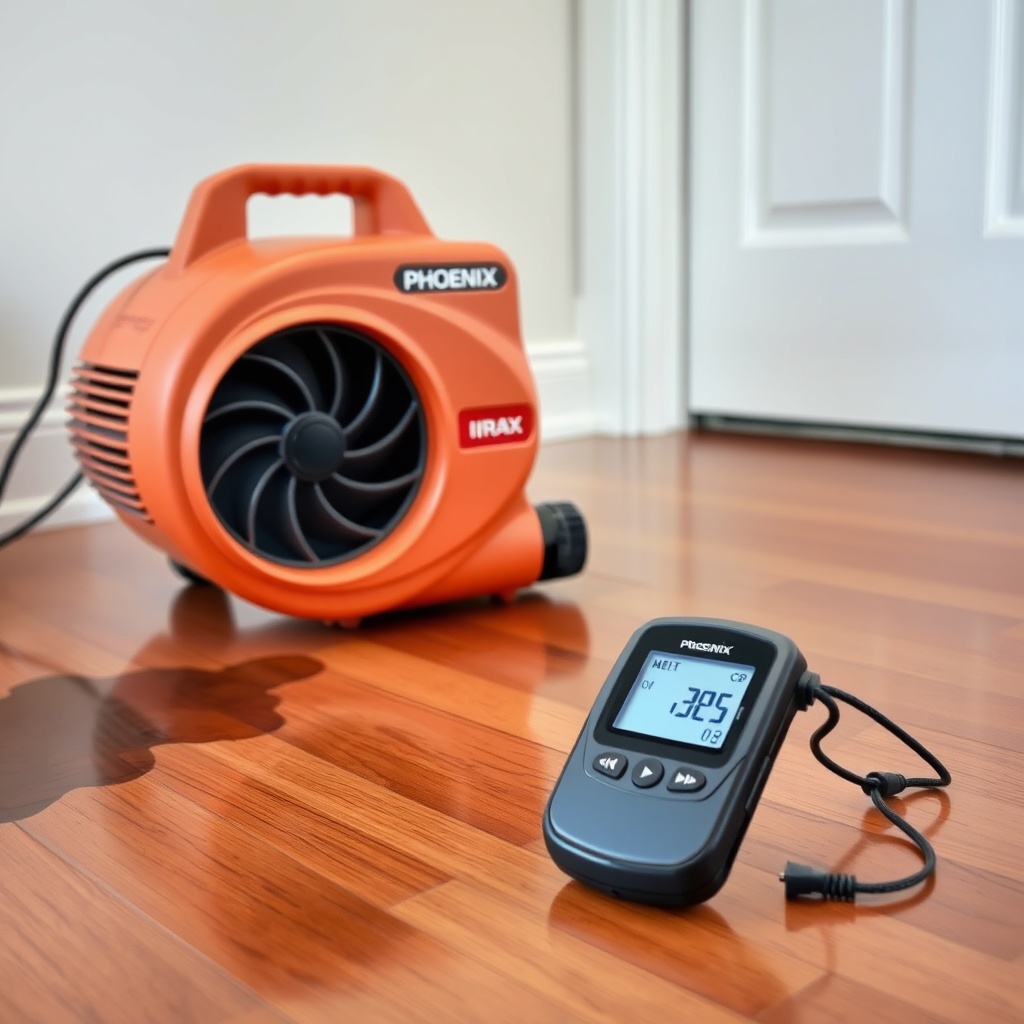
There are two main categories: pin-type and pinless (non-invasive). For use with the R200 Max, a combination meter (offering both modes) is ideal. Pin-type meters push small electrodes into wood or drywall to measure resistance, providing accurate depth readings for thick materials. Pinless meters use electromagnetic sensors to scan larger areas without leaving holes, ideal for finished surfaces like hardwood floors where you don’t want to damage the finish. For most water damage jobs pairing with the R200 Max, a pinless meter with a depth of 0.75 to 1.5 inches (like the Tramex MEP or General Tools MMD4E) gives quick scans across wood, concrete, and drywall. Prices range from £50 for basic models to over £300 for professional-grade meters with Bluetooth syncing.
How Do You Set Up Real-Time Drying Monitoring with These Tools?
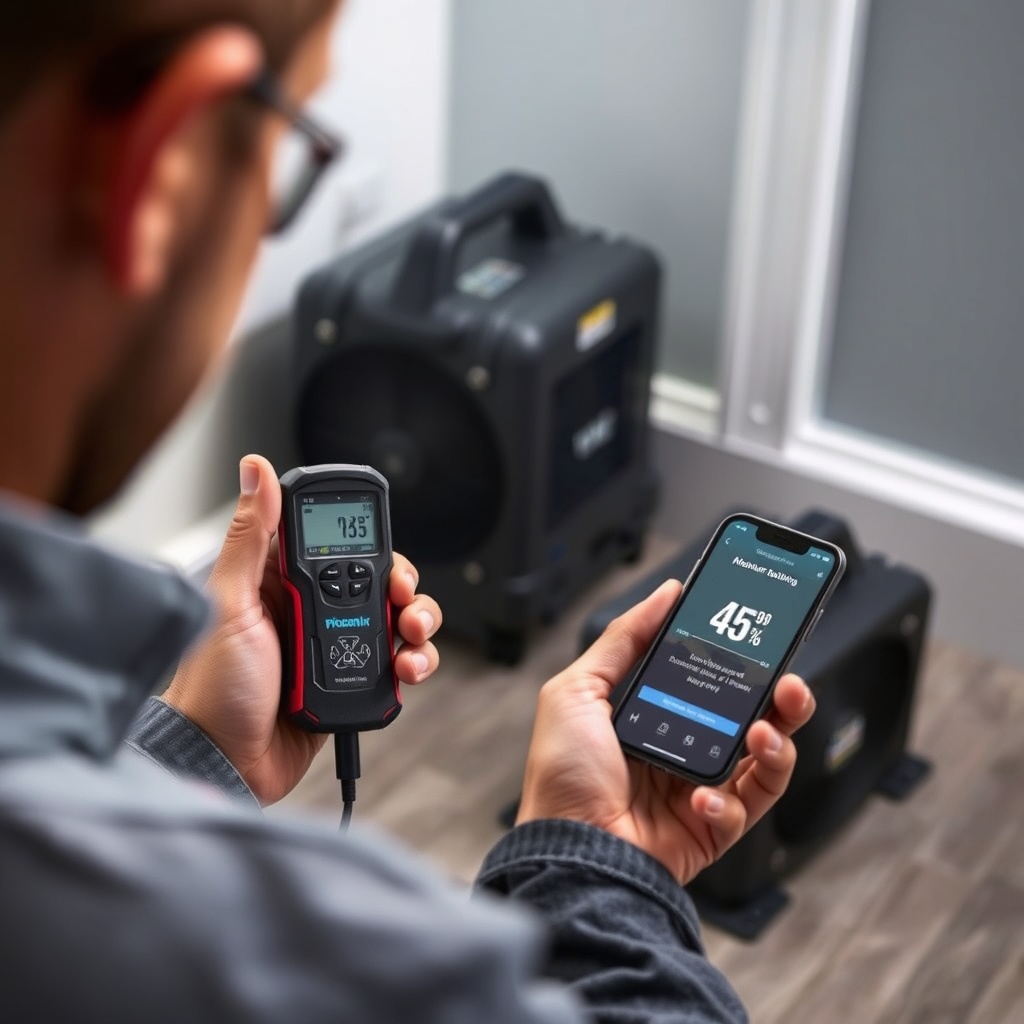
Start by mapping the affected area into zones (e.g., each room or even each wet section of a floor). Place the Phoenix R200 Max at a 45-degree angle toward the wettest zone, at least 2 feet from walls, using the Best Placement for Phoenix R200 Max Air Movers to Speed Up Drying. Then, take baseline moisture readings with your meter at three points per zone (near the R200 Max, mid-zone, and furthest corner). Record these in a drying log. After 4 hours, take new readings. The R200 Max’s high CFM will show a drop in moisture content (MC%) in wood floors (target: 6-12% depending on species) or wood moisture equivalent (WME) for concrete. For real-time monitoring, connect a Bluetooth-enabled meter (like the Tramex CME5) to a smartphone app; it updates readings every few seconds so you can see the drying curve in action. Adjust the R200 Max’s angle or add a second unit if readings plateau for more than 2 hours.
| Moisture Reading (Wood MC%) | Urgency Level |
|---|---|
| 0–8% | Dry—no further action needed |
| 8–15% | Usually not urgent—still drying; monitor every 6 hours |
| 15–22% | Needs attention soon—increase airflow or add another R200 Max |
| Above 22% | Immediate action required—likely saturated; check for hidden leaks |
What Are the Best Practices for Interpreting Moisture Meter Readings?
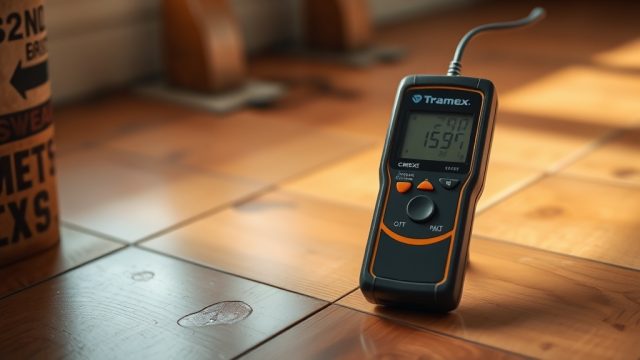
Moisture meters give a number, but context matters. For wood flooring, species has a huge effect: oak has a different baseline than pine. Always compare readings to a dry reference (a known dry piece of same material in the same building). When using the Phoenix R200 Max, airflow can cause surface drying faster than deep drying. A surface reading of 10% MC might hide a 18% core—use a pin meter to probe deeper. For concrete, measure Wood Moisture Equivalent (WME) and aim for under 4.5% before sealing. Also watch for temperature and humidity effects: the R200 Max can raise air temperature slightly.
How Does Real-Time Verification Improve Your Workflow?
Without verification, a technician might run the R200 Max for 48 hours by default, wasting energy and risking over-drying. With a moisture meter, you stop the second the target MC is reached. In practice, one restoration company reported cutting average drying time by 30% after adopting real-time monitoring with the R200 Max and a Bluetooth meter. The real-time feedback also helps diagnose issues: if a zone isn’t drying evenly, you can reposition the air mover or check for hidden moisture behind walls. It also gives you concrete data to present to insurance adjusters or clients, proving the job is done correctly.
What Mistakes Should You Avoid When Using a Moisture Meter with the R200 Max?
Common errors include: (1) relying only on surface readings without deep pin measurements; (2) not calibrating the meter to the correct material scale; (3) placing the R200 Max too close to the meter—airflow can skew readings by cooling the surface; (4) ignoring ambient temperature and relative humidity, which affect drying rates; (5) assuming all moisture meters read moisture equally—always use the same brand for consistency across a job. If you’re comparing the Phoenix R200 Max with other air movers, check our detailed Phoenix R200 Max vs Dri-Eaz 1200: Air Mover Showdown for Water Damage Jobs for performance differences that affect moisture removal rates.
What Owners Say
“I pair my Phoenix R200 Max with a Tramex MEP meter. At first, I just ran the air mover for a set time, but now I can stop exactly when the floor hits 8% MC. That saved me on one job about 6 hours of runtime—electricity cost dropped by about £12.” —James T., restoration technician, Glasgow
“The R200 Max is loud, but it moves serious air. With my moisture meter, I found that one corner of a wet room wasn’t getting enough flow. I moved the air mover 2 feet and the readings dropped by half in 3 hours. Without the meter, I’d have left it running extra days.” —Maria L., water damage specialist, Manchester
“I use the Bluetooth meter with the phone app. The R200 Max drains moisture fast—I saw the WME drop from 14% to 8% in 8 hours. The app lets me log progress without being in the room. That’s the future of restoration.” —Raj P., property restoration pro, London
Frequently Asked Questions
Can I use any moisture meter with the Phoenix R200 Max?
Yes, any meter works as long as it measures moisture content (MC%) or wood moisture equivalent (WME). For best results, choose one that switches between pin and pinless modes. Professional models like Tramex or General Tools pair well. Avoid cheap analogue meters that lack accuracy below 4%.
How often should I take readings when using the R200 Max?
Take baseline readings before starting the R200 Max. Then check every 4 to 6 hours for the first day, then every 8 hours as drying progresses. For real-time monitoring, use a Bluetooth-enabled meter that updates every 30 seconds; you can check the app without physically entering the room.
What moisture reading indicates the area is dry enough to stop the R200 Max?
For wood, aim for a moisture content (MC%) between 6% and 12%, depending on species and local climate. For concrete, target 4.5% or lower WME on a calcium chloride test. For gypsum drywall, 1% or less MC is generally dry. Always compare to a dry reference from the same building.
Does the R200 Max’s airflow affect moisture meter accuracy?
Yes, if the meter is placed directly in the airflow stream, the moving air can cool the surface and marginally lower the reading (by 1-2% MC). Position the meter away from the direct blast, or take readings after turning off the air mover for 30 seconds.
Can I verify drying in walls and ceilings without invasive probing?
Yes, use a pinless moisture meter with a depth of up to 1.5 inches. Place the meter flat against the wall or ceiling. The R200 Max’s high CFM helps dry these surfaces, but the meter will confirm progress. For deep penetration, a pin meter inserted through a small hole is more accurate.
How do I know if my meter needs recalibration?
Check the user manual for calibration frequency—most recommend re-calibration annually or after 1,000 readings. Compare your meter’s reading on a known dry piece of wood (like kiln-dried pine) against the manufacturer’s stated baseline. If it deviates by more than 1% MC, send it for recalibration or buy a new meter.